
Kite Labels and Instruction Inserts: A Buyer’s Pack-Out Guide
For a private-label kite, a label or instruction sheet is not a last-minute graphic. It is part of the product specification. It tells the end user what is in the pack, how the kite is assembled, where the product is intended to be sold and which version belongs to a particular SKU. For importers, distributors, event teams and retail buyers, that small printed component can prevent avoidable packing errors and make a reorder much easier to control.
This guide explains how to specify kite labels and instruction inserts as part of a wholesale or custom-kite order. It is not legal advice: the buyer remains responsible for confirming the applicable labeling, language, safety and market-entry requirements for the destination market.
Start with the pack, not the artwork
Before designing a label, define the packed product. A compact diamond kite in a sleeve, a boxed activity kit and a festival kite in a carry bag do not need the same information or the same placement. Make a simple pack-out list first:
- kite model, size and intended user or sales channel;
- every component included, such as spars, tail, line, winder, handles, connectors and repair pieces;
- retail packaging format and the outer-carton configuration;
- where a barcode, product code, country-of-origin statement or buyer-supplied marks must appear;
- the languages and any destination-market text the buyer has approved.
This list gives the factory and the artwork team a clear reference. It also keeps the instruction sheet from describing a component that is absent from the final pack. For broader presentation choices, see custom kite packaging options.
Choose the right information carrier
Product label or hang tag
A label or hang tag is useful for product identity at the shelf. It commonly carries the product name, brand or private-label mark, SKU, barcode area, variant name and concise contents statement. It may be attached to a bag, sleeve, header card or product pack. Decide early whether it is a sewn label, adhesive label, folded tag or printed packaging panel; the available space and material affect the artwork template.
Assembly and flying instructions
An instruction insert should help a first-time user identify parts, assemble the kite in the intended sequence and understand the basic flying setup. Clear diagrams or numbered steps can reduce ambiguity where a product has loose rods, an adjustable bridle, a tail or a separate line assembly. Keep claims measured. The sheet should describe the supplied configuration, not promise a wind range, performance level or safety outcome that has not been validated for that model.
Carton and warehouse labels
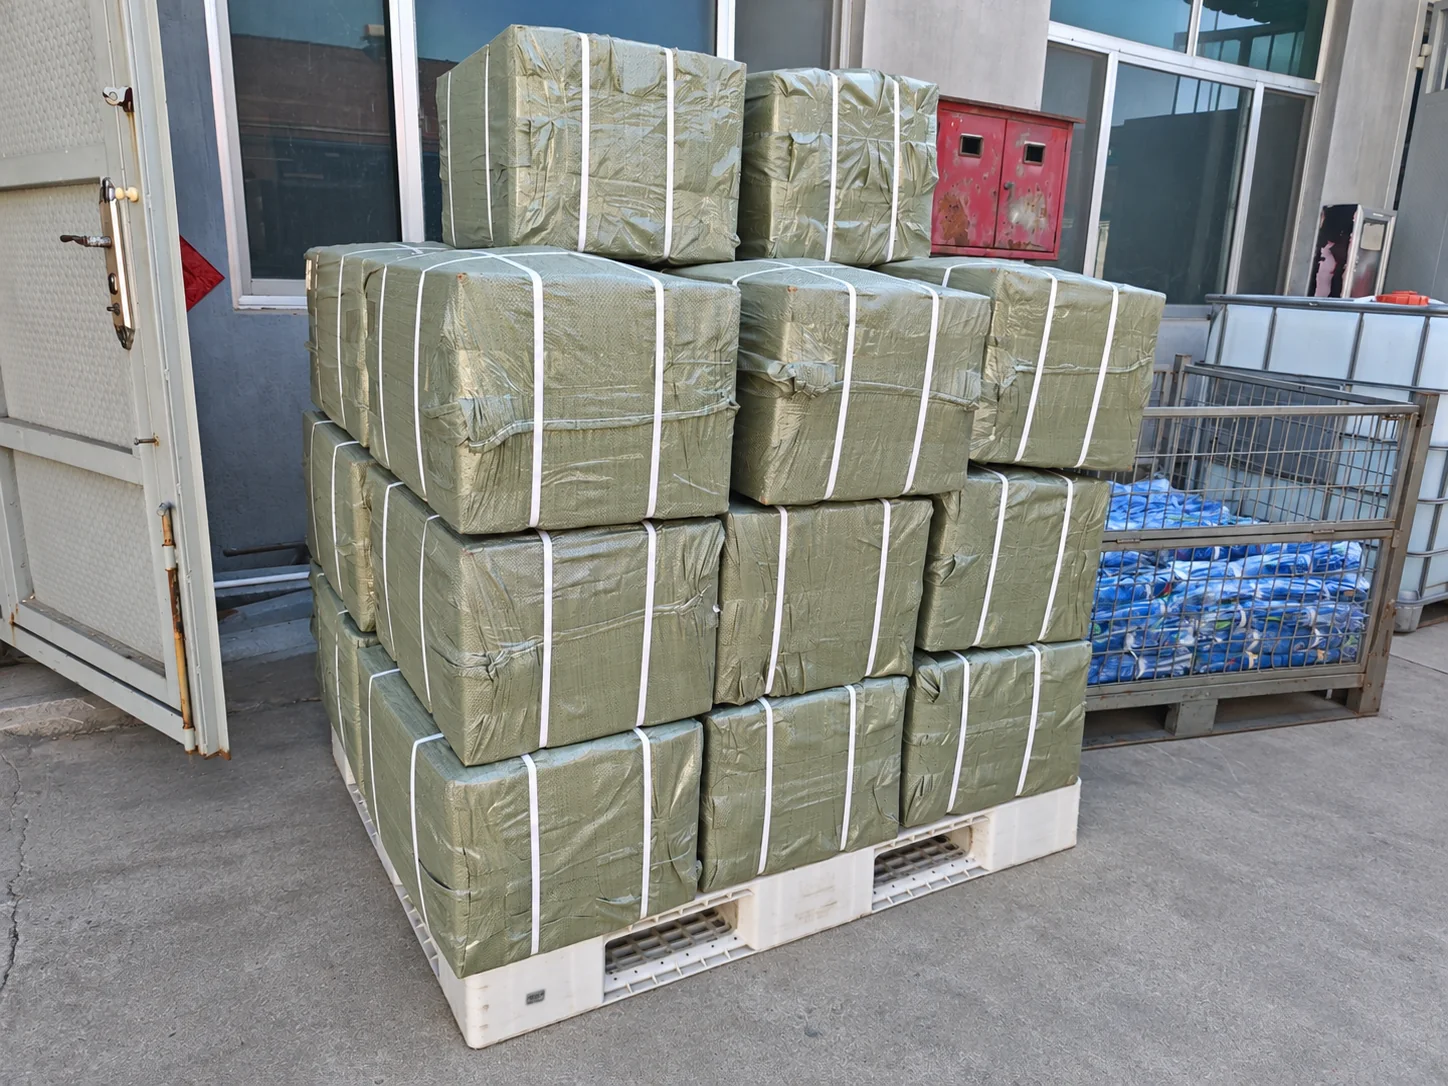
Outer-carton labels serve a different audience. They help receiving teams distinguish SKUs, colors, sizes, quantities and destinations before individual retail packs are opened. For a mixed order, give each carton a clear identifier and agree whether labels are applied on one side or more than one side. The buyer should also state whether carton markings are for warehouse handling only or need to remain visible through delivery.
Build a content matrix before layout
A practical way to prevent missing information is to create a content matrix with one row per printed item. List its purpose, location, size, language, approved copy, artwork file name, revision number and owner. A buyer can then see which details belong on a retail label, an instruction leaflet and an export carton instead of copying everything onto one small panel.
For example, the instruction insert may identify parts and assembly steps, while the retail label carries the SKU and barcode area. A carton label can show the carton count and destination reference. If the program includes several kite shapes or colors, use a version-control field so the factory, the buyer and the warehouse are referring to the same variant.
Prepare artwork for the real production format
Text that looks legible on a screen may become difficult to read after folding, trimming or attaching to a curved or narrow package. Supply editable source files when possible, use the printer’s approved template and keep required margins away from folds, holes, seams and glue areas. Confirm the final panel size before approving type sizes or diagrams.
For a branded kite, artwork also needs to account for the kite itself. Seam lines, rod pockets and moving panels can change how a logo reads in use. The site’s artwork preparation guide and color-matching and proofing guide explain how to prepare the wider product artwork and review a physical result.
Keep compliance responsibilities explicit
Labels and instruction sheets often intersect with product-safety, age grading, warning, chemical, language and traceability requirements. Those requirements vary by market, product design and intended user. Do not assume that a label used for one customer or country can be reused for another.
The buyer should identify the destination market and provide the exact mandatory text, marks and languages that have been confirmed for the product. The supplier can then place the supplied content on the agreed artwork and sample, but should not be asked to infer regulatory obligations from a logo or shipping destination alone. For a cautious starting point, review toy kite safety and import compliance considerations and confirm current requirements with the appropriate official authority or qualified adviser.
Sample the complete pack-out
Approve labels and inserts in the way they will be used, not as an isolated PDF. A pack-out sample should let the buyer check whether the correct component list, language version, artwork revision and label position are present. Where practical, review the insert after folding and placing it in the actual bag, sleeve or box. A diagram that works flat can become unclear once folded; a hang tag can hide essential copy when tied to the wrong location.
At this stage, check spelling, product name, SKU, barcodes supplied by the buyer, diagram callouts, quantities, translated copy, placement and the relationship between the instruction sheet and the components in the pack. Record approvals against the final version number. The same discipline supports the wider custom-kite sample development process.
Include printed items in quality control
Printed materials deserve their own inspection points. Ask the inspection team to compare a production pack with the approved reference and check the version, language, legibility, attachment method and quantity. For mixed cartons, the check should also confirm that each SKU is packed with its matching insert and label.
A practical checklist can include:
- correct artwork revision and approved language version;
- no missing, duplicated or mismatched inserts;
- legible print after folding or attachment;
- correct SKU and buyer-supplied barcode placement;
- accurate component list for the packed kite;
- carton marking that matches the packing list.
These checks complement, rather than replace, product inspection. Use the kite quality-control checklist to plan the rest of the product review.
Make reorders easier to manage
Once a program is approved, keep a master pack-out specification. It should identify the kite model, packaging format, label and insert files, revision date, language versions, placement photos or diagrams, and the approved sample reference. A clear master record is especially useful when a buyer returns months later with a small change to a color, contact detail or retail barcode.
Do not treat a previous order as permission to reprint old artwork unchanged. Ask the buyer to reconfirm the current files and mandatory copy at reorder stage. That protects both parties from using obsolete information or pairing a new variant with an old insert.
What to include in an RFQ
When requesting a quotation, include the label and instruction requirements alongside the kite specification. State the product SKU count, packaging type, quantities per version, supplied languages, target market, preferred label material and any buyer-provided barcode or required copy. Attach a draft artwork file if available, but identify it as draft until the final proof is approved.
A complete brief helps the supplier quote the right printed components and plan sampling without guessing. Use the custom kite RFQ checklist to organize the broader product request, then contact KiteSourcing with the packed configuration, artwork status and destination market.
FAQ
Should labels and instructions be approved before production?
Yes. Review them as part of the complete pack-out sample, including the final language versions, component list and placement.
Can one instruction sheet be used for every market?
Not automatically. Language, labeling and market-entry requirements can differ. Confirm the current destination-market requirements before reusing copy.
What is the most important detail to control on a reorder?
Use a revision-controlled master pack-out specification so the kite variant, label, insert and packaging reference all match.
Plan the printed pack as part of the product
Labels and instruction inserts are small components with a large operational role. When they are specified, proofed, sampled and checked alongside the kite, they can support a clearer retail experience and a more controlled wholesale program. For help reviewing a custom kite pack-out, send the product configuration, target market and available artwork to KiteSourcing.