
Learning how to fly a stunt kite starts with the right kite, a safe field and two equal flying lines. Unlike a single-line kite, a dual-line sport kite responds to differences in left and right line tension. Small hand movements control turns, climbs and landings, while large pulls create tighter and faster maneuvers.
This guide covers the basic setup and flying sequence for beginners. It also explains the specifications that retailers and activity suppliers should check when selecting beginner sport kites for a wholesale range.
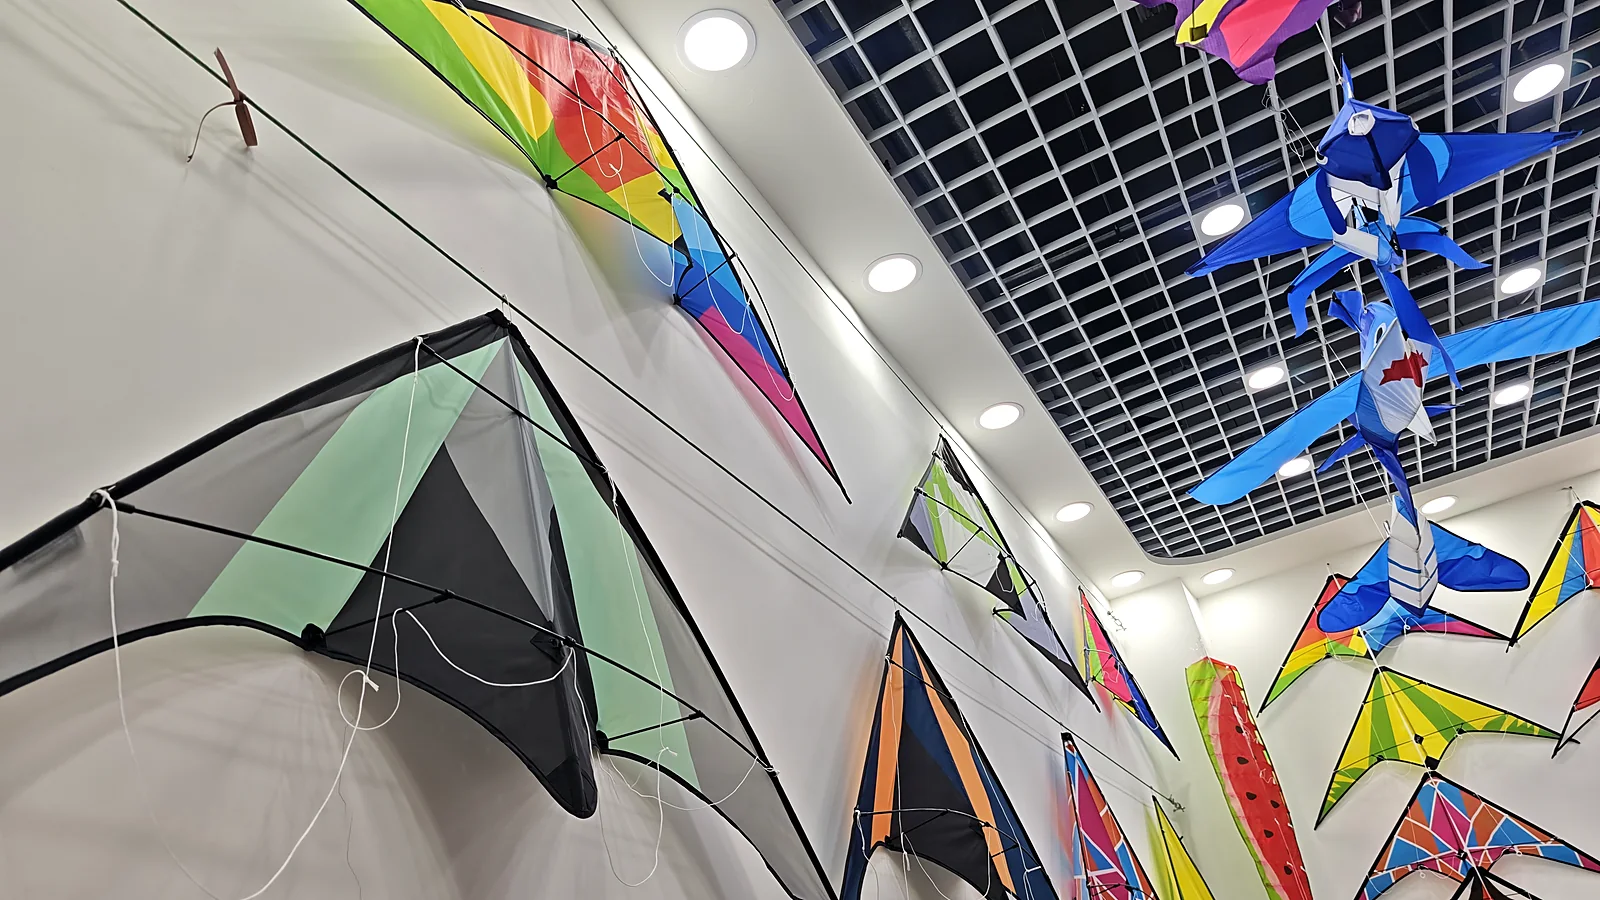
Choose a beginner dual-line kite
For a first session, choose a forgiving frame and moderate sail area rather than the fastest competition-style model. A beginner stunt kite should assemble clearly, use matched line lengths and include handles or straps that are comfortable for the intended user. Product labeling should state the recommended skill level, wind range, approximate wingspan and included accessories.
A larger kite may be easier to see and can give smoother feedback, but it may also create more pull. A very small or highly responsive kite can feel nervous in gusty wind. The best beginner model balances visible movement, predictable steering and manageable line tension.
Find a safe place and suitable wind
Use a large open field or beach away from roads, buildings, trees, power lines, airports and crowds. Check local rules before flying. Never fly during a storm or near lightning. Keep the entire line length clear of other people and stop if the wind becomes stronger or more turbulent than the kite can safely handle.
Steady light-to-moderate wind is easier for learning than a gusty day. Wind that passes over buildings, trees or hills can become turbulent. If the kite repeatedly stalls and surges even after a correct setup, move to a clearer location or wait for better conditions.
Assemble and inspect the kite
Follow the model instructions for the spine, leading edges, spreaders and standoffs. Confirm that both sides are symmetrical and that all connectors are fully seated. Look for damaged rods, loose stitching, worn line or tangled bridle legs. A left-right assembly difference can make the kite turn constantly even when the pilot holds both handles evenly.
Attach the left and right flying lines to the marked tow points. Use the knot or connector specified by the manufacturer. Check that both lines are equal in usable length. Unequal lines can create a permanent steering bias and make a beginner think the kite is defective.
Prepare the flying lines
Stand at the intended pilot position and unwind both lines together while walking toward the launch point. Place the handles on the ground in a consistent left-right orientation. Remove twists and confirm that each line runs directly to the correct side of the kite.
Keep knots away from the working length whenever possible because knots can reduce line strength. Replace damaged or heavily abraded lines. Match line strength to the kite and expected wind rather than assuming that the thickest line is always best; unnecessarily heavy line can add drag and reduce light-wind performance.
How to launch a stunt kite
Stand with your back to the wind. A helper should hold the kite upright at the far end of the lines with the nose pointing upward and the sail facing the pilot. Apply even tension to both lines, signal the helper to release, then pull both hands gently toward your body. The kite should climb toward the center of the wind window.
The helper should release the kite rather than throw it. Throwing can distort the launch direction or create slack. Solo ground launches are possible with suitable designs and surfaces, but an assisted launch is simpler and safer for a first session.
Understand the wind window
The wind window is the area in front of the pilot where the kite can fly. The center usually produces more speed and pull. The left and right edges have less power and are useful for pausing or landing. The top of the window can also provide a calmer position for regrouping.
Beginners should fly broad, slow paths and avoid the lowest part of the center until steering becomes consistent. Keeping the kite higher gives more time to correct a turn before it reaches the ground.
Basic steering
Pull the right line slightly to turn right and the left line slightly to turn left. Return both hands to an even position to fly straight. Begin with small movements and allow the kite time to respond. Holding one hand far back creates a continuous turn and can wind the lines around each other.
Do not steer by moving both arms dramatically from side to side. The important control is the difference in tension between the two lines. Relaxed shoulders and small wrist or forearm inputs usually produce smoother flight.
Practice a wide figure eight
After stable climbs and gentle turns, practice a wide horizontal figure eight. Turn before the kite reaches the ground, cross the center smoothly and repeat on the other side. The exercise teaches left-right coordination, speed awareness and recovery without requiring advanced tricks.
If the kite accelerates too much through the center, make the next path wider and higher. Move toward the edge of the wind window when you need less pull. A successful practice session is based on control, not the number of fast spins completed.
How to land safely
Guide the kite toward the left or right edge of the wind window, where power is lower. Reduce steering input as it approaches the ground and let one wingtip touch down gently. Avoid diving the kite into the center of the field because this can damage the nose, rods and connectors.
After landing, secure the kite before walking forward. Wind both lines evenly and inspect them for knots or abrasion. Store the sail dry and keep rods protected from crushing or excessive heat.
Common beginner problems
- The kite keeps turning: check that line lengths, bridle settings and frame assembly are symmetrical.
- The kite will not climb: confirm that the wind is suitable, the sail faces the correct direction and the helper releases without throwing.
- The lines twist: land, walk toward the kite and remove twists instead of repeatedly spinning the handles.
- The kite feels too powerful: move toward the edge of the wind window, wait for lighter wind or use a smaller, more forgiving model.
- The kite repeatedly collapses: inspect the frame and connectors and confirm that all required spars and standoffs are installed.
What wholesale buyers should specify
For a retail or training assortment, document wingspan, frame material, sail fabric, target skill level, recommended wind range, line length and strength, handle type, assembly instructions, replacement parts and packaging. Ask whether the quoted set includes two lines and two handles or straps. A sample should confirm launch behavior, steering balance, connector fit and instruction clarity before bulk approval.
Beginner instructions should use clear diagrams and separate assembly, line attachment, launch, steering, landing and safety. If the kite will be sold to families or used in supervised programs, confirm applicable labeling and testing requirements for the destination market.
Related products and guides
Compare our stunt kite range, read the wholesale stunt-kite buying guide, review lines and handles, or request a quotation.
Stunt kite, sport kite and dual-line kite: what is the difference?
Stunt kite and sport kite commonly describe steerable kites used for controlled turns and patterns. Many beginner models are dual-line kites: the left and right lines control the corresponding sides of the sail. Some advanced sport kites use four lines, so buyers should not assume that every sport kite has the same controls.
A beginner stunt-kite practice sequence
- Check that both flying lines are equal in length and free of twists.
- Practise a straight assisted launch into the centre of the wind window.
- Hold a stable position with small, relaxed inputs.
- Make wide left and right turns, returning the hands to neutral after each input.
- Fly a slow figure eight before attempting tight loops or ground-level passes.
- Practise a controlled landing at the edge of the wind window.
Choose a kite with forgiving handling, clear assembly instructions and a wind range appropriate to the intended location. For sourcing options, see our stunt kites, kite accessories and Kite Guides.
Frequently Asked Questions
How many lines does a beginner stunt kite use?
Most beginner stunt kites use two flying lines. Pulling one line more than the other turns the kite, while returning both hands to a neutral position helps it fly straight.
What wind is suitable for learning to fly a stunt kite?
Use the wind range stated for the specific model and begin near the lower-middle part of that range. Smooth, steady wind in a large open area is easier for learning than strong or turbulent wind.
Can children fly a dual-line stunt kite?
Only when the model, wind range and age guidance are appropriate, and with close adult supervision. Flying lines, pull force and the speed of a sport kite require more control than a basic single-line kite.
Can a stunt kite be flown on a beach?
Yes, if local rules allow it and there is a wide, uncrowded area away from roads, power lines, buildings and bystanders. Avoid launching through a crowded beach or across paths used by other people.
Sourcing Beginner or Branded Stunt Kites?
Share the user level, target wind range, size, printing, line-set and packaging requirements. We can recommend a practical dual-line configuration.